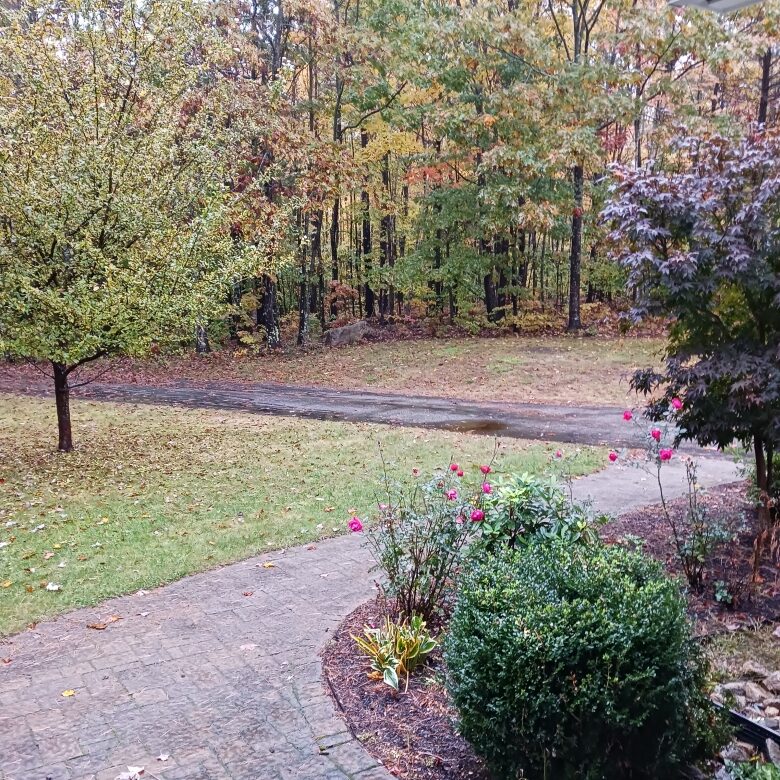
 11/07/2023 – New England’s Fall color presentations are not as they are often represented. Yet tourists flood the area, by land and by sea, by car, motorcycle, bus, and bicycle. They geek and gawk, stare at the red and gold leaves, as they fall from the trees, and primarily relocate to my lawn. Yes, all of the leaves that fall in New England, fall on my lawn. Pictured above, the lawn after the third leaf blower defense.
You would think this era of mechanization and automation would yield a simple solution to leaf removal. It does not. Instead, granite boulders and tree stumps hide under the leaves and wait for expensive machinery to attempt to pass over. Then, chains break, blades fail and fly and even powerful fossil fuel motors, literally, grind themselves to a halt.
And it rains a great deal. Which further drives the leaves from the trees, glues them to the ground and soaks anyone foolish enough to attempt clearing. So, real New Englanders stay in their homes between summer and winter, and wait out the leaves and the tourists.
During that time, we build things that may, or may not, serve a purpose. The important thing is that projects consume scrap material and require playing with as many pieces of equipment as possible. Yes, it gets noisy, deafening and saw dust enters the nose and mouth, but a basement workshop is a dry and leafless environment. Yes, there are dry basements in Maine.
A new approach to a handgun rest…
Accuracy testing for rifle reviews, or evaluating handloads, is done from a sled. A sled is the most steady rest and it spares the shooter from constant recoil battering. However, handguns are an all together different challenge.
The shop has a Ransom Rest. It sits right next to an oversize Philodendron, that uses the rest for vining. No, I did not know the plant’s name until I wrote this. I googled it and matched the appearance its name. I commonly refer to it as “Crap. I forgot to water that plant”.
In any event, the Ransom Rest is used on occasion, but not an inexpensive proposition. Required grip inserts are unique, and need to be purchased for each firearm type. Additionally, fifteen to twenty round of ammo must be fired to settle the firearm in the rest, and then, a minimum of ten rounds must be fired to gauge accuracy for each load.
The result is an accurate picture of firearm/ammunition combination’s mechanical accuracy; its potential with the human factor removed from the equation. It’s a lot like shooting into ballistic gel, which tells you how far a bullet will penetrate, and how it will expand, in the event you find yourself hunting for ballistic gel. In Maine, that season is from January 16th through January 17th, with a block limit of one.
Generally, when reviewing handguns, shot bags are piled us on the bench to support the subject handgun’s barrel, and the front taper on a bunny bag controls grip elevation. Squishing the bag between the wrists provides a good deal of lateral stability.
The birth of the Rollo-Glide
A cylindrical front rest would provide rigid barrel support, however, the cylinder’s circumference would minimize the contact area. Additionally, the rolling surface would allow the gun to move aft under recoil, then return to the original position under recovering tension of a bunny bag and the shooter’s wrists and hands. All organic, all green. The idea was very exciting. It is probably easier to just walk through the construction.
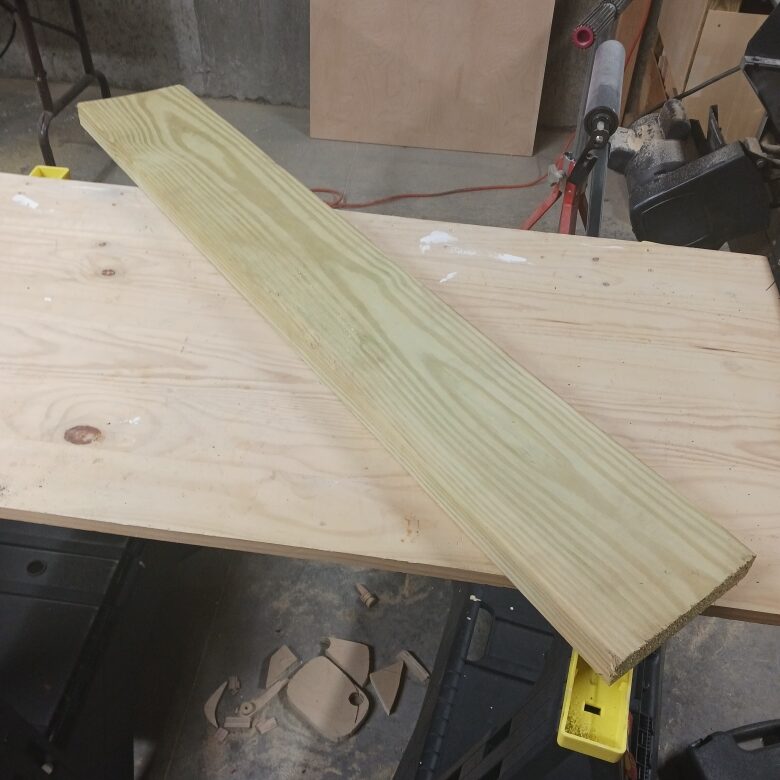 Not an ordinary board, it is a 2″x10″x4′ of seasoned, ground contact rated, pressure treated spruce plank, with only vestigial traces of arsenic. Yes, working with a mask is essential, as is eye protection, gloves and, sometimes, a clean room suit.
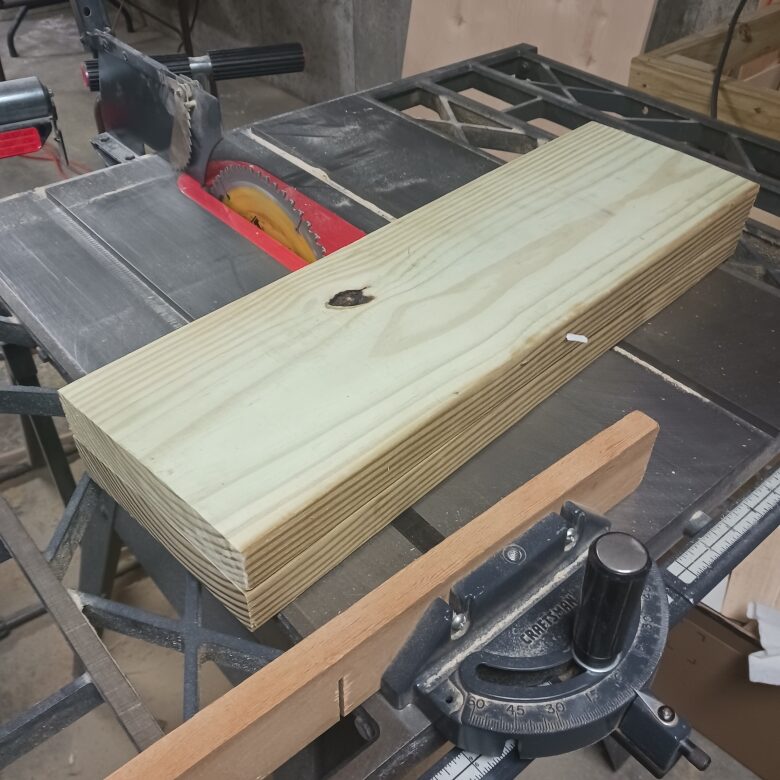 Deciding that a 2″x8″x4′ was a tad too thick, too long and too narrow… and the board was cupped… and, yes, it had significant surface blemishes. So I cut the board to half length and fed both halves to the bench planer.
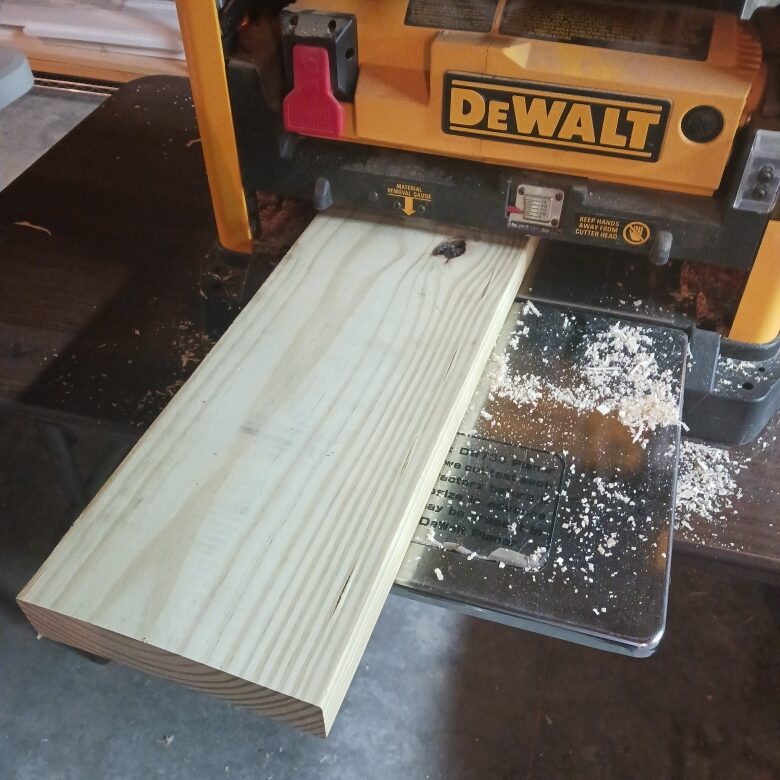 The boards were planed to a thickness between “Damn this thing is too heavy” and “Oh, crap. Too thin”. Both the cup and egregious surface blemishes were removed. Both boards were cut, turned and faced the same.
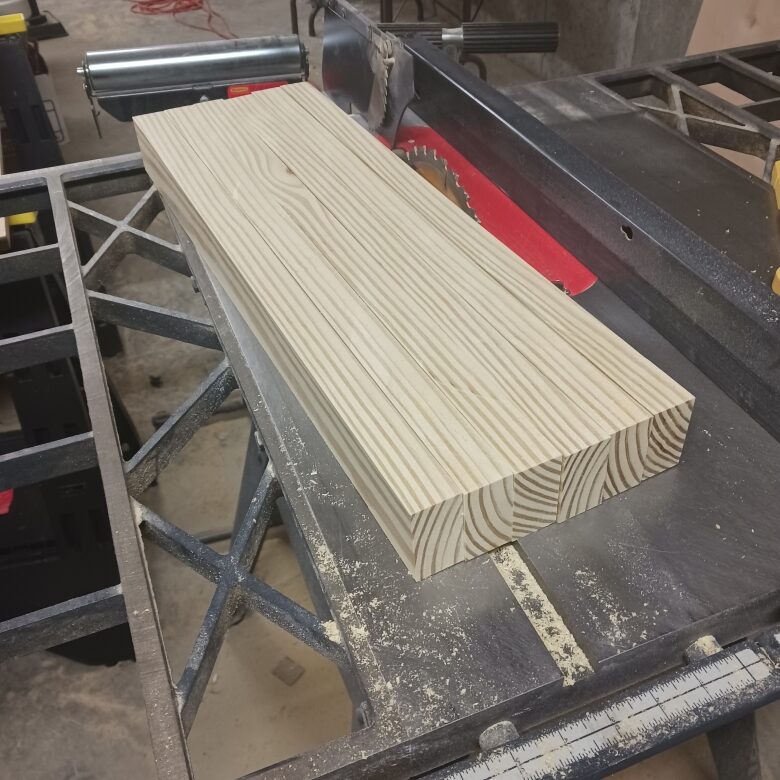 Finished project warp prevention. Assuming the cup would return in time, I ripped the board into 2″ thicknesses, then shuffled the pieces to confuse the wood, so it would not remember where the cup was formed.
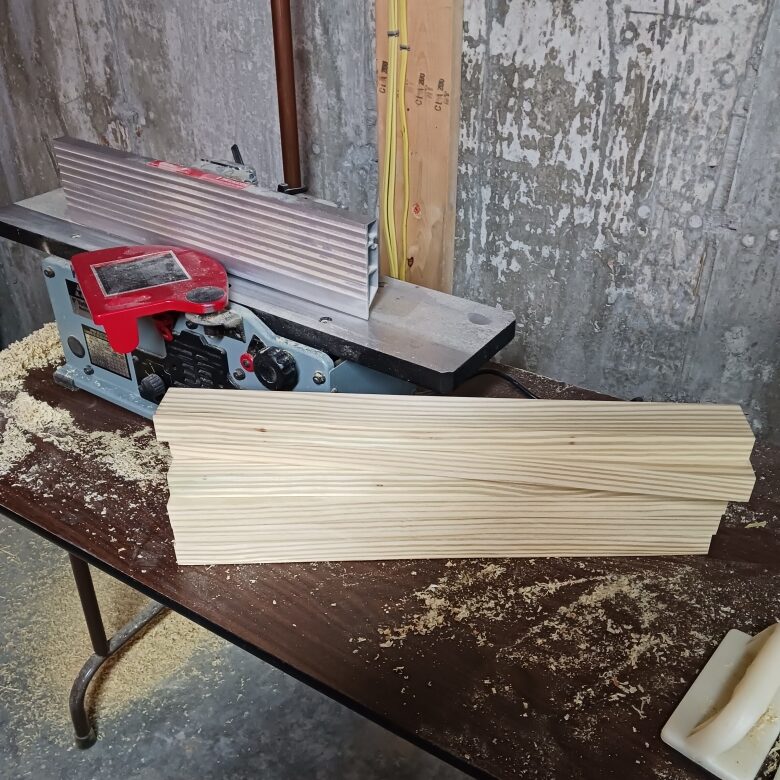 Then the pieces were squared on my 30 year old bench jointer to remove the original plank’s beveled outside edges, and to clean up any table saw induced roughness. I really have to replace those circular saw blades and square the fence.
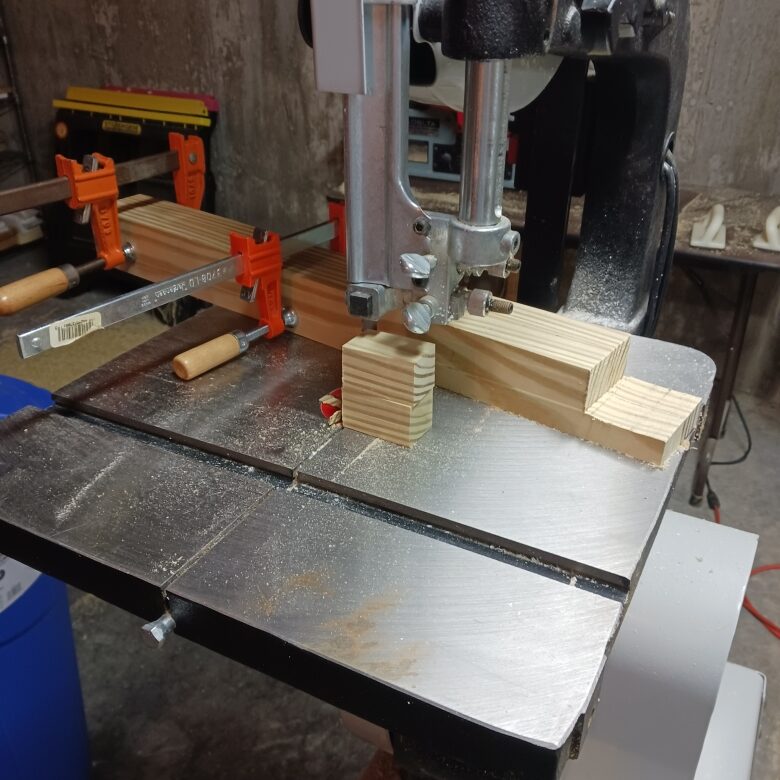 The two outside pieces were paired and notched to hold the front support uprights. One piece was held out from the stack to narrow the base by 2″, and to form the upright supports. My bandsaw has been an unwilling partner for over twenty years. Consequently, when it comes to setting a precise direction it tends to favor dog tracking. Bandsaw or badsaw?
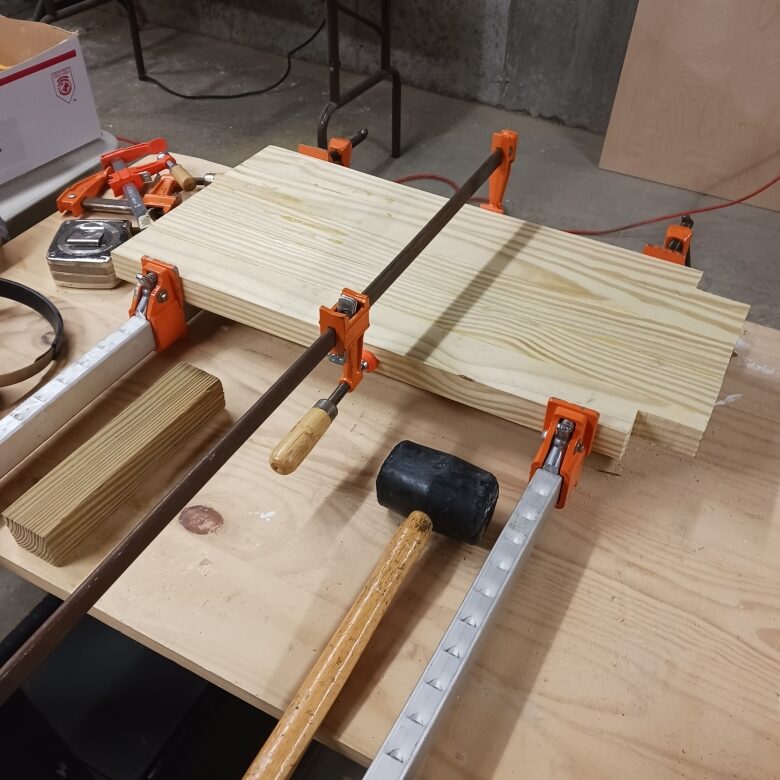 After attempting to carry the stack of wood to various machines, only to have them fall through my hands, the thought came to me that I might join them together. Subsequently, they were glued and clamped, and left overnight while I went upstairs and made celebratory popcorn.
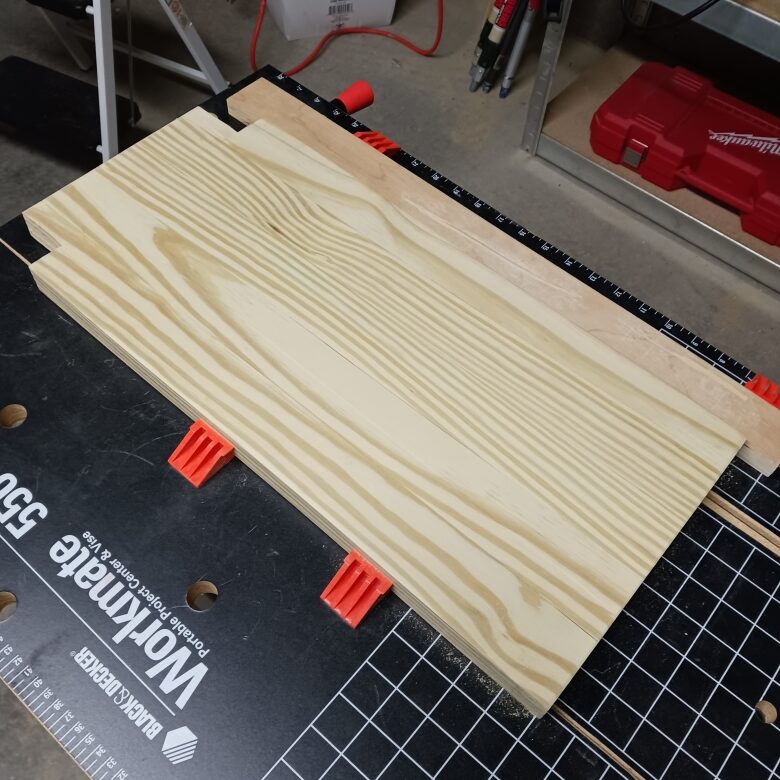 Because I keep putting off changing the planer’s chipped blades, sanding out the the “worms” left in relief on the board surface became necessary. The process also cleared a little residual Elmer’s.
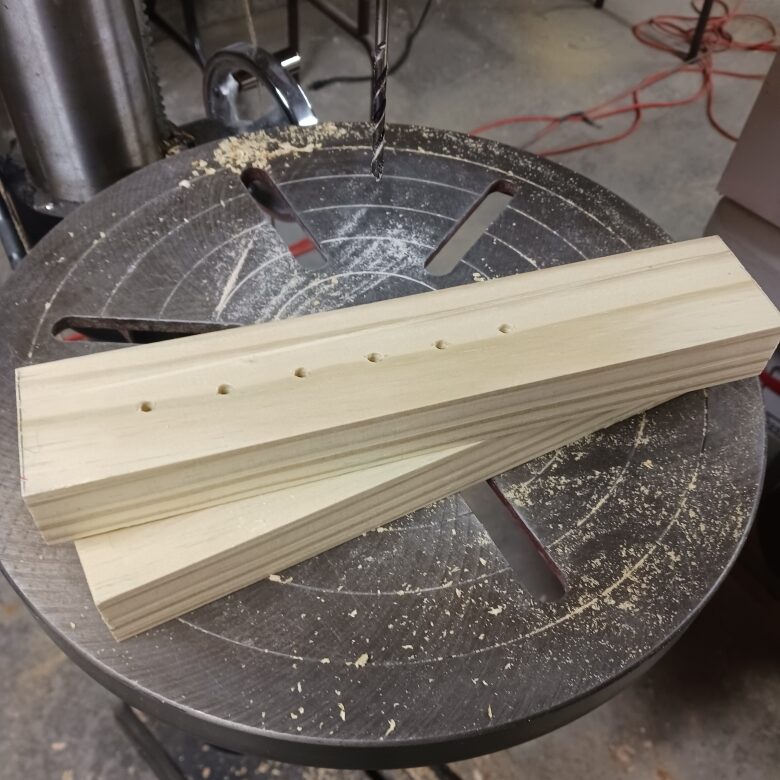 The one board held out was cut into two pieces that would serve as upright supports. I do not recall the exact length, but I do remember resting my cupped hands on the rest’s base to simulate holding various handguns, and visualizing the height of rested barrels. I marked the highest position on the board, cut there, then trimmed the boards to match. Let’s call them 10″ long.
Starting from the bottom, but skipping the section that would be secured at the base, holes were drilled 1″ apart to serve as adjustment points for the center support. Yes, I did drill the holes in both boards simultaneously. to assure holes were adjacent.
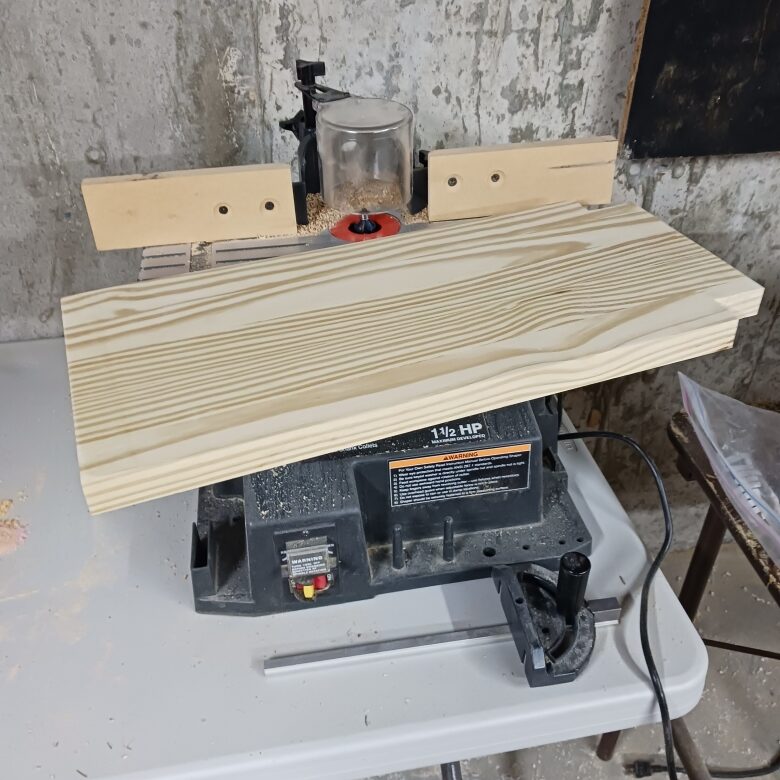 After taking a wicked splinter to the hand, all pieces were subjected to a rounding bit on the router table. The notches were left as is, because they would be glued surfaces, and used to secure the uprights. The uprights were radiused at the top for aesthetic quality and handling safety.
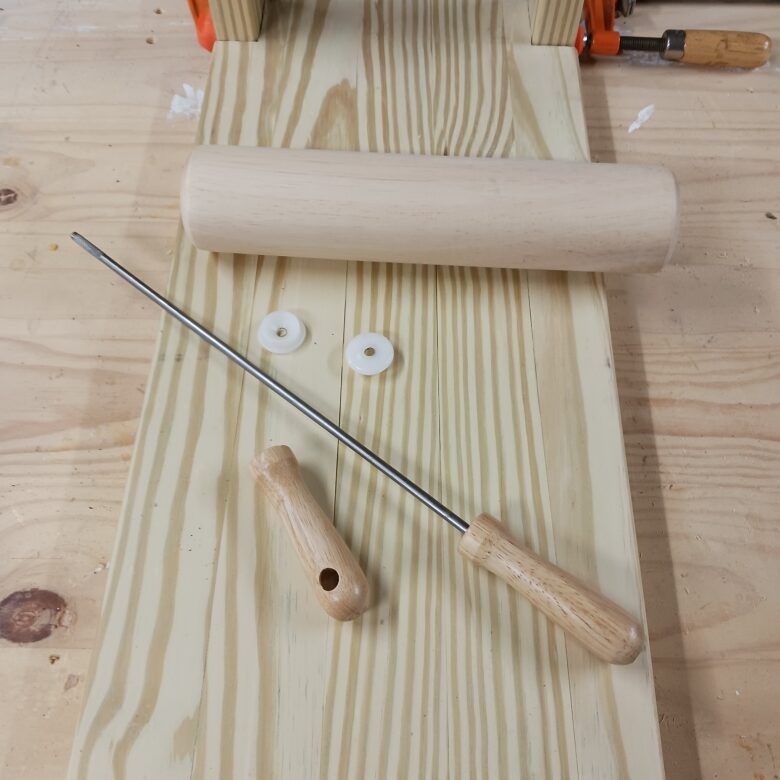 A precision rolling pin was located at the Dollar Store, purchased and immediately disassembled. The roller body, 10″x2 1/4″, and handles are made of Italian basso prezzo wood. The axle is hardened steel.
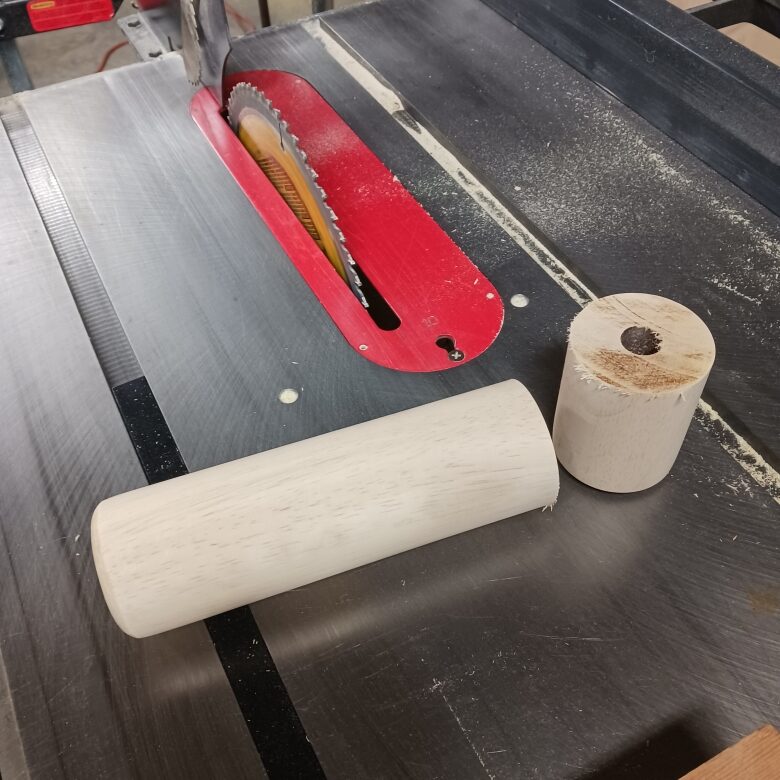 10″ seemed too long for the center support. 7″ seemed about right, and that measurement coincidentally matched the uprights spacing!…!! So, Mr. Uppity Precision Rollin Pin was cut to size.
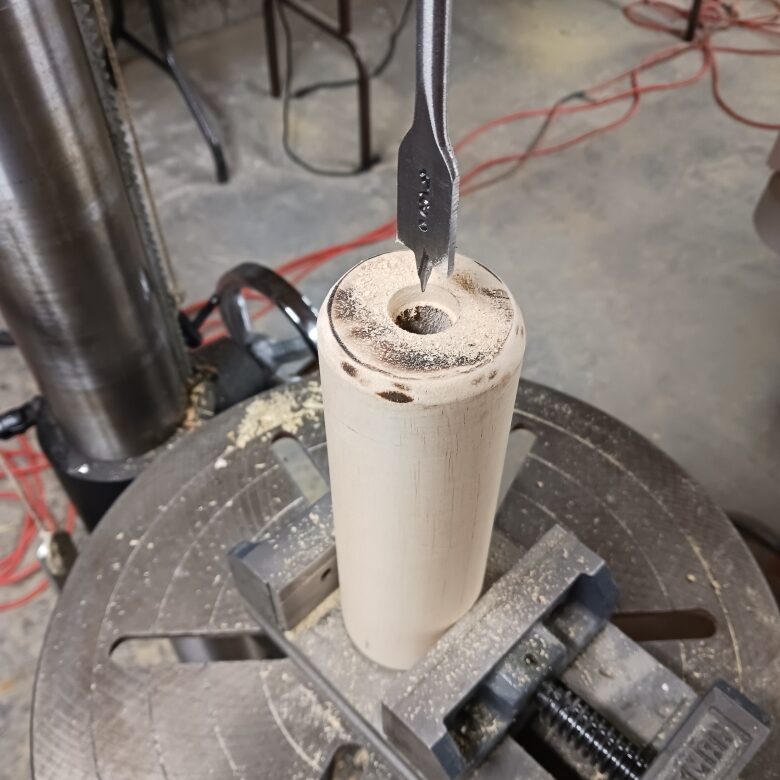 The cut end was radiused to approximate the form of the finished end. A spade bit opened the center hole so the original plastic axle support bushing would fit. The burn marks are because I am impatient and did not change the abrasive belt on the bench sander; Wabi-Sabi. Yes, that is a flat face machinist’s vise improperly holding the round work piece. Thank you for noticing.
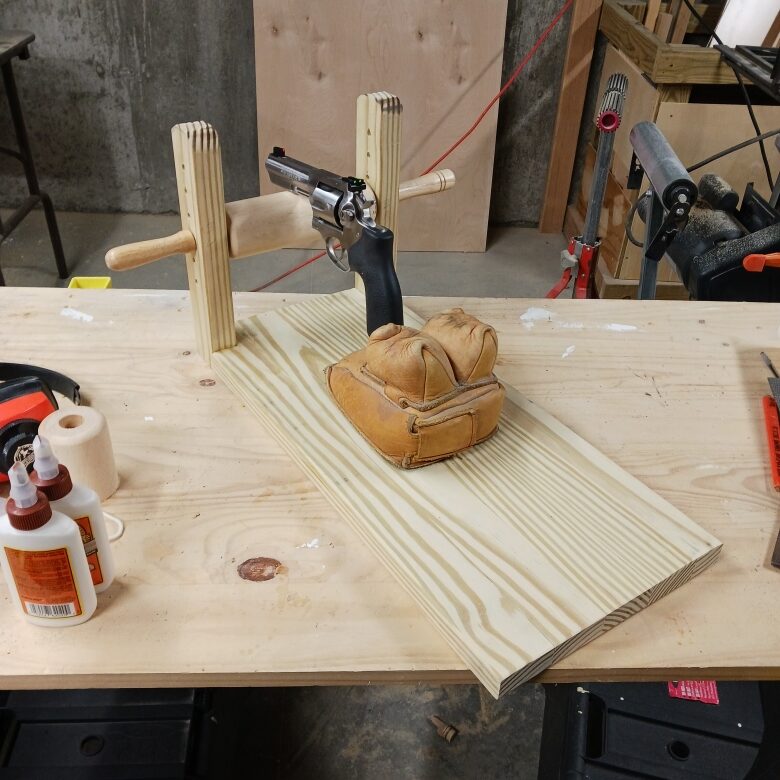 OK. So it stopped raining and I plopped the rest on the shooting bench, and shot a few different handguns with good results.However, there was something lacking, and I found myself at that point in a project where one more step in progression would either define the work, or turn it into scrap.
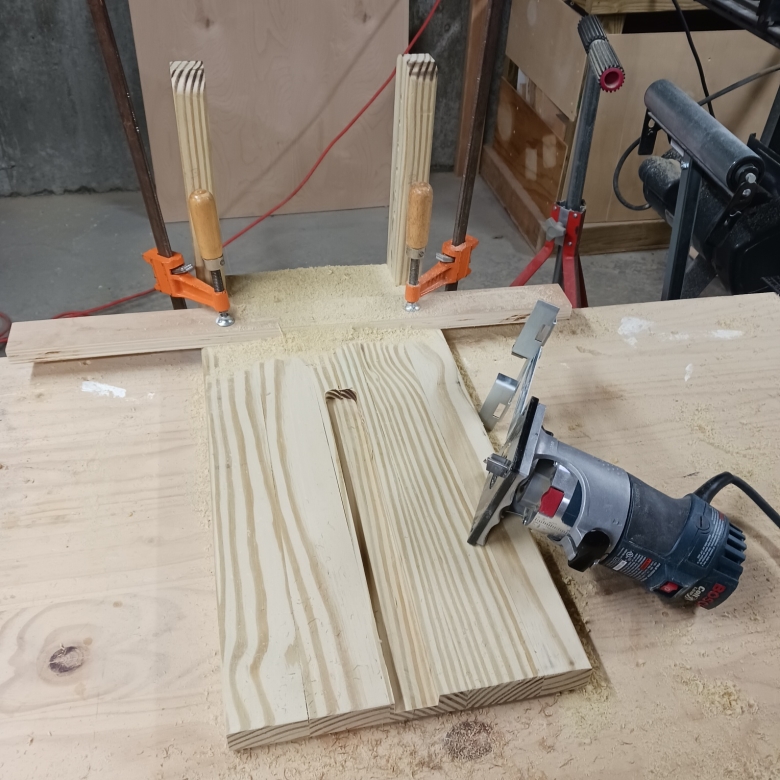 So, envisioning a gliding grip rest that would move… organically under recoil, but make precise positioning easily achieved, I broke out the Bosch router and went to work.
The first problems encountered were: a bit that was too small in diameter for the slot width desired, the puzzler of how to center the cut, and how to utilize a router guide that would not extend quite far enough to reach center. Head scratch. Head scratch.
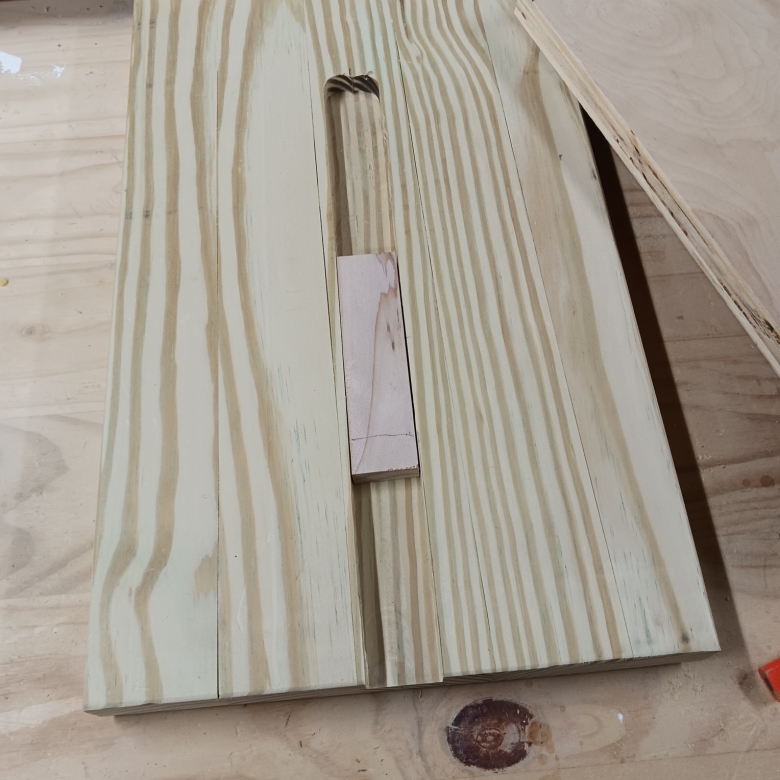
The guide was extended to maximum, with stability, and a cut was made. Then the guide was flipped to the other side of the base and the second cut was made. So that self centered the cut, and the groove was wide enough to serve its purpose. I suspect I need more router practice and perhaps I need to thumb through the router instruction manual.
Because of the artistic, rather than skilled craft, approach applied when routing the guide groove in the base, a cut of standard dimensional lumber could not be used for the glide.
A piece of wood was run through the bench plane until its thickness placed it just below the depth of the groove, and then finely finished with an 80 grit belt sander to fit cleanly. The glide was cut to a lesser depth than the groove, so that when it was affixed to the glide base, it would not drag on the bottom.
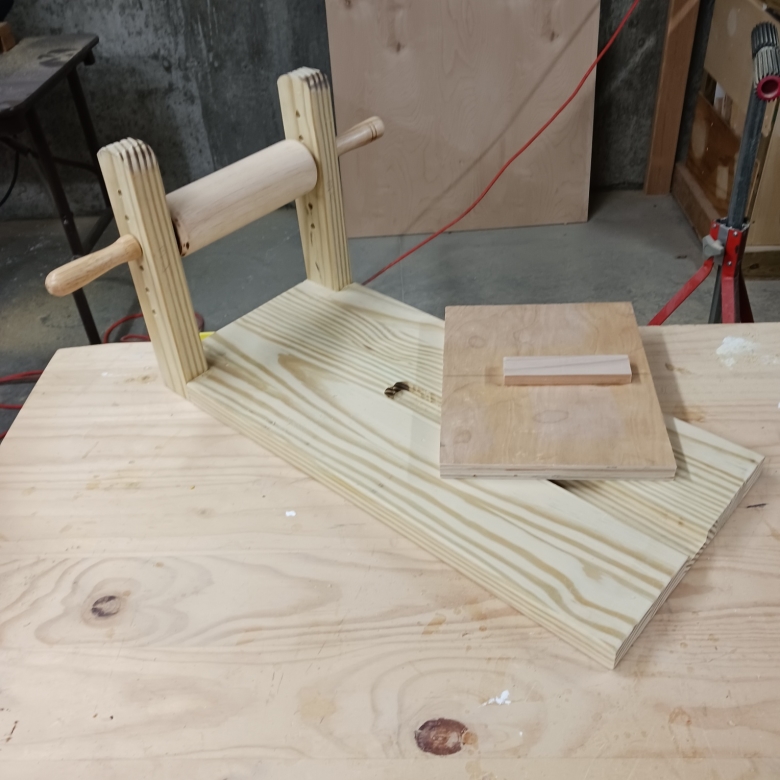 The guide board was placed offset, front to back, so the guide could be rotated to provide different lengths of travel… and because the steel rule was all the way on the other end of the basement.
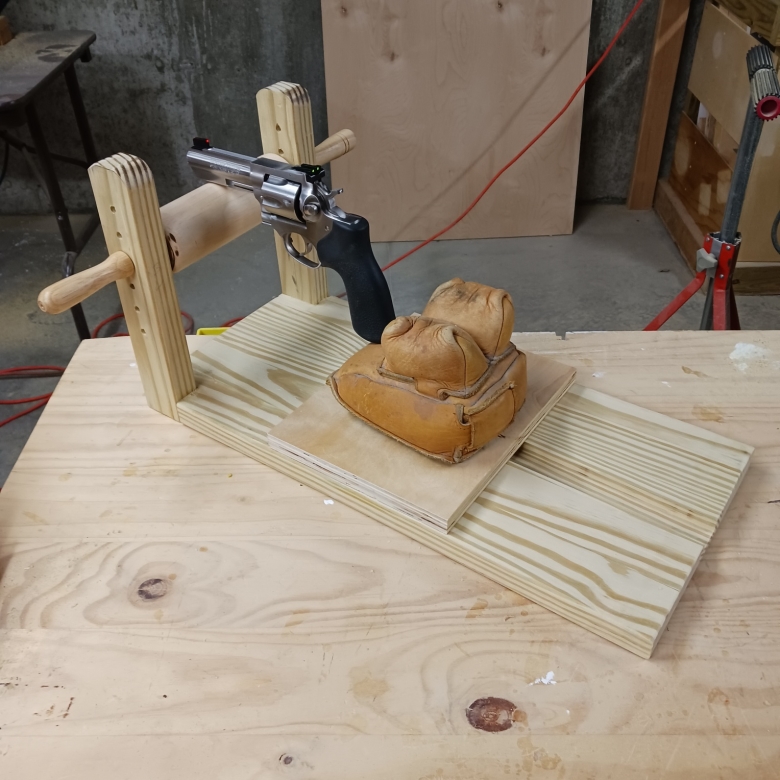 Until I can think of a way to easily adjust the height of the grip support, the bunny bag remains. In early testing, the glide feature posed a problem. Namely, the combination of two moving surfaces kept the aimed gun in a constant state of longitudinal motion. Who’d of thunk it? Head scratch. Head scratch.
In the interim, a stress test seemed in order, so I tested my two floating point design with my Marlin Guide Gun and full tilt 400 grain loads. In the absence of a recoil backstop, or friction for that matter, Newton’s Third Law of Motion played out… front and center.
Trigger squeeze concluded with a heck of a racket, the muzzle staying down, but the little rifle came straight back, faster than ever before as I recall, and unceremoniously knocked me off the bench’s seat and onto the grass. Fortunately, I hadn’t mowed the lawn in three weeks so… soft landing. Head scratch. Head scratch.
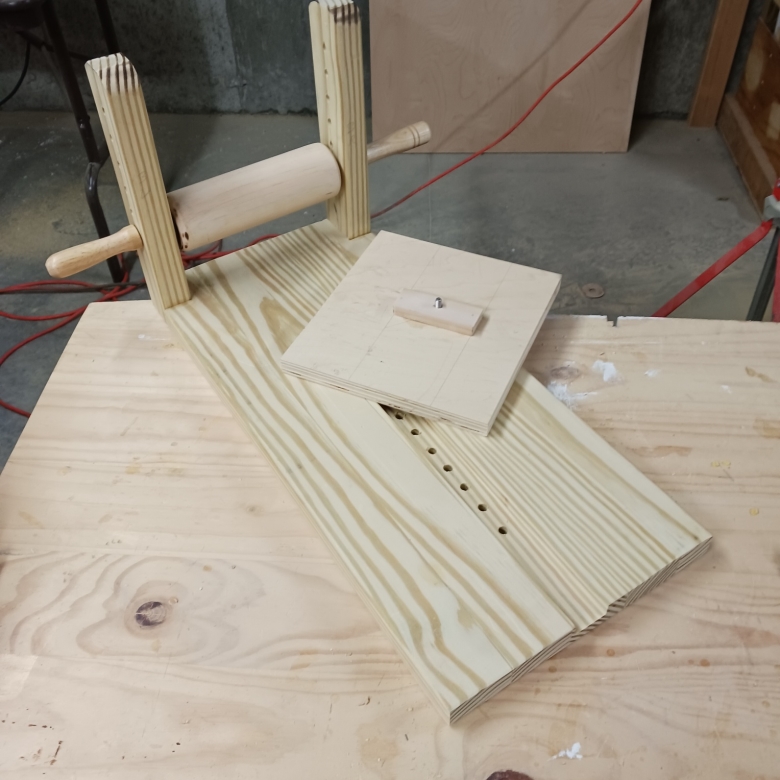
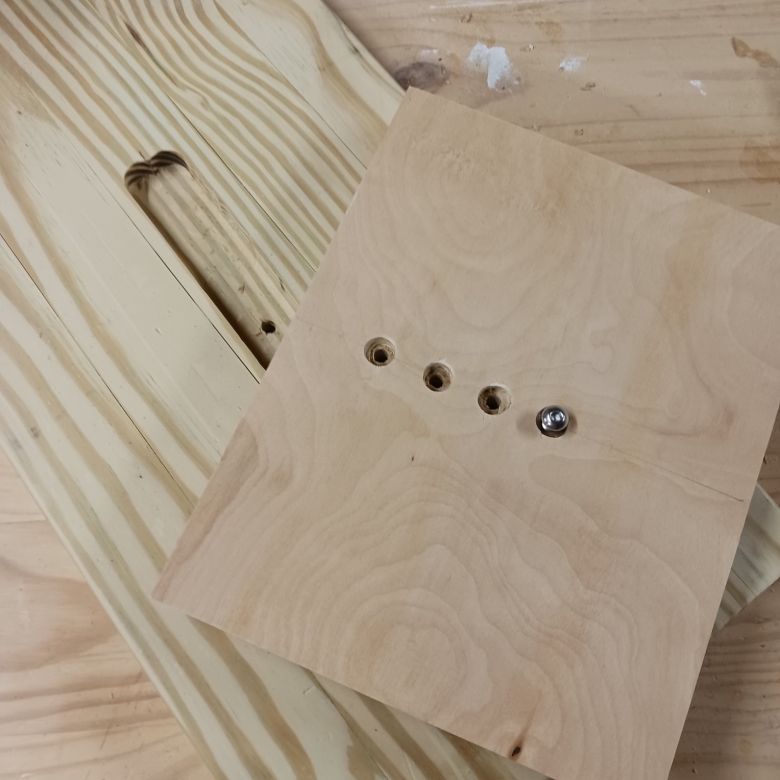 The glide was pushed full forward and the rear hole was drilled through the glide and base. Then three more holes were added to the glide, one inch apart to provide a range of longitudinal adjustment. Then, realizing the position pin needed to be countersunk, I faced the holes with a brad tip drill, almost to the point of being concentric with the through holes. Almost. Then I sanded off many splinters and pulled the others from my fingers
Production prototype?
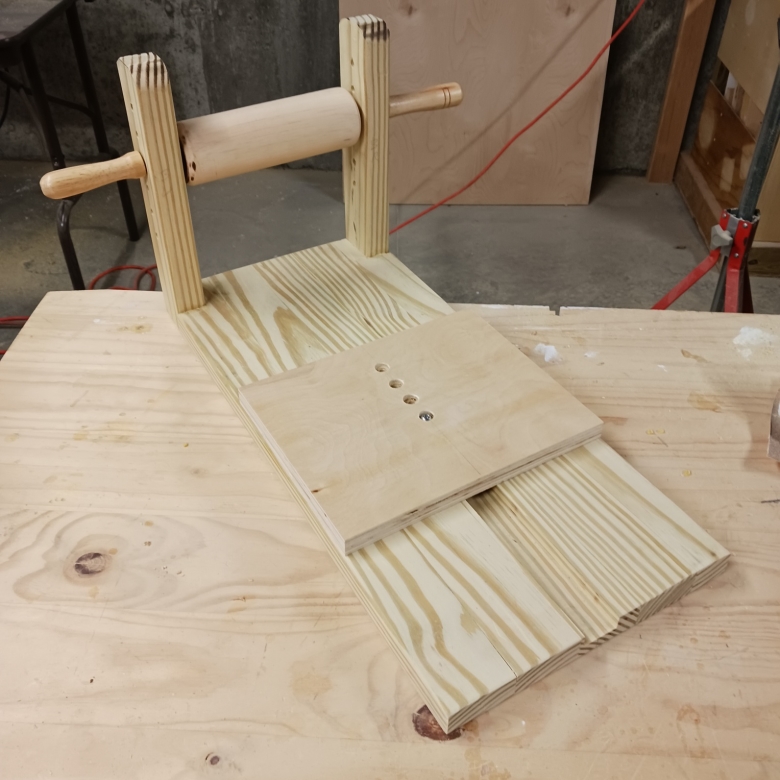 The finished prototype. It works well with the grip end pinned. Enough so that it will be finish sanded and it will get a coat of sealer. I used a lot of scrap lumber and tools that have been dormant for a period of time. And, the roller can still be used to roll out pie crusts… small pies… or lasagna noodles.
With high hopes of peer review, design and quality of work, I will call it done. Will I use it? You never can tell. Sorely lacking is elevation control of the grip end. I’m thinking something pneumatic perhaps. Maybe even a cylinder housing a stack of tennis balls.
Ehhh… can’t quite leave it there.
I did not like the adjustment points in the glide, so I moved adjustment points to the base.
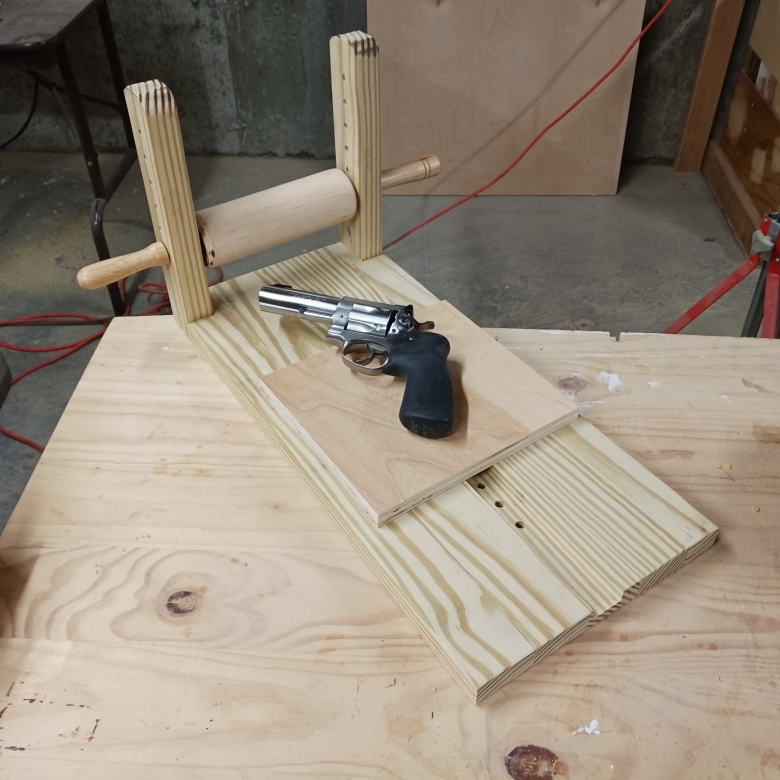 Much better and I actually have used it several times. What I need to design now is a design that would secure the gun’s grip, with a remote triggers and a clutch to dampen recoil – return to position set up. Until the next time it rains….

Email Notification